How to Regrout a Shower Without Removing the Tile
You notice the grout in your shower looking darker than it used to. Maybe there are hairline cracks forming between the tiles, or you scrub and scrub but those stained lines won't budge. In North Fort Myers, our humidity and frequent showers create the perfect environment for grout to break down faster than in drier climates.
Before you commit to a full shower demolition, regrouting might be the right solution. This guide walks through the process of removing old grout and applying new material without touching your existing tiles. We cover when this approach makes sense, what tools you need, and the steps to get clean, fresh grout lines that protect your shower for years to come.
When Regrouting Makes Sense and When It Does Not
Not every tired-looking shower is a candidate for regrouting. The key question is whether the problem is cosmetic or structural. If your tiles are still solid, firmly attached, and the waterproofing behind them is intact, regrouting can restore both appearance and function.
Here are signs that regrouting without removing tile is a viable option:
- Grout is cracked, crumbling, or missing in sections but tiles feel solid when you press on them
- Discoloration and staining that cleaning products cannot remove
- Small gaps where grout has shrunk or pulled away from tile edges
- No soft spots, hollow sounds when tapping tiles, or water damage on walls outside the shower
Here are signs that you need more than regrouting:
- Tiles feel loose or sound hollow when tapped
- Water stains on drywall in adjacent rooms or ceilings below
- Mold growing behind tiles or a musty smell that persists after deep cleaning
- Cracks running through tiles themselves, not just the grout
If you see any of the second set of issues, the problem likely extends beyond surface grout. At that point, consulting a licensed tile contractor for a full assessment is the safer route. Waterproofing failures behind the tile require demolition to fix properly.
Tools and Materials You Will Need
Grout removal is labor-intensive but straightforward. Having the right tools makes the job faster and reduces the risk of damaging your tiles. Most of these items are available at local hardware stores.
Essential tools:
- Grout saw or oscillating multi-tool with grout removal blade
- Utility knife for scoring and cleaning corners
- Vacuum with brush attachment for dust cleanup
- Stiff nylon brush or old toothbrush
- Spray bottle filled with water
- Grout float for applying new grout
- Microfiber cloths or sponges for cleanup
- Caulk gun if resealing around fixtures
Materials to purchase:
- Sanded or unsanded grout matching your existing color
- Grout sealer for after curing
- 100 percent silicone caulk for corners and fixture edges
- Painter's tape to protect fixtures
For grout type, sanded grout works for joints wider than one-eighth inch. Unsanded grout is better for narrow joints and vertical surfaces since it sticks better without sagging. In Southwest Florida's humidity, consider a grout with mold and mildew inhibitors built in.
Step One: Remove the Old Grout
This is the most time-consuming part of the job. Plan for several hours depending on your shower size. Work methodically and do not rush, because damaging tiles during removal means you have crossed into full replacement territory.
Start by scoring along the edges where grout meets tile with a utility knife. This creates a clean boundary and helps prevent the grout saw from scratching your tiles. Then use a grout saw or oscillating tool to remove the bulk of the old material.
Hold the tool at a consistent angle and let it do the work. Pressing too hard can crack tiles or gouge the backing board underneath. Your goal is to remove grout to a depth of about one-eighth inch, or roughly two-thirds the thickness of the tile. This gives the new grout enough space to bond properly.
Pay extra attention to corners and around fixtures. These areas often trap more moisture and show deterioration first. A utility knife works better than a power tool in tight spaces.
As you work, vacuum frequently to keep dust from settling back into the joints. Once all old grout is removed, wipe down the entire shower with a damp cloth to remove any remaining debris.
Step Two: Clean and Prepare the Joints
Clean joints are critical for new grout adhesion. Any leftover dust, soap residue, or mildew will prevent the new material from bonding correctly.
Mix a solution of warm water and mild dish soap. Scrub all the grout lines thoroughly with a stiff brush. For stubborn mildew stains, a diluted bleach solution works, but rinse thoroughly afterward. Let the shower dry completely before moving to the next step. This usually takes at least 24 hours in our humid climate, so plan accordingly.
Some homeowners in North Fort Myers run a dehumidifier or keep the bathroom fan on during this drying period. The goal is bone-dry joints before new grout goes in. Moisture trapped behind fresh grout leads to premature failure and potential mold growth.
Once dry, inspect the joints one more time. Use compressed air or a vacuum to blow out any dust that settled during drying. The joints should look clean and uniform before you mix your grout.
Step Three: Mix and Apply New Grout
Follow the manufacturer's mixing instructions exactly. Grout consistency should be like peanut butter, smooth and workable but not runny. Mix only what you can use in about 30 minutes, as grout starts to set quickly once water is added.
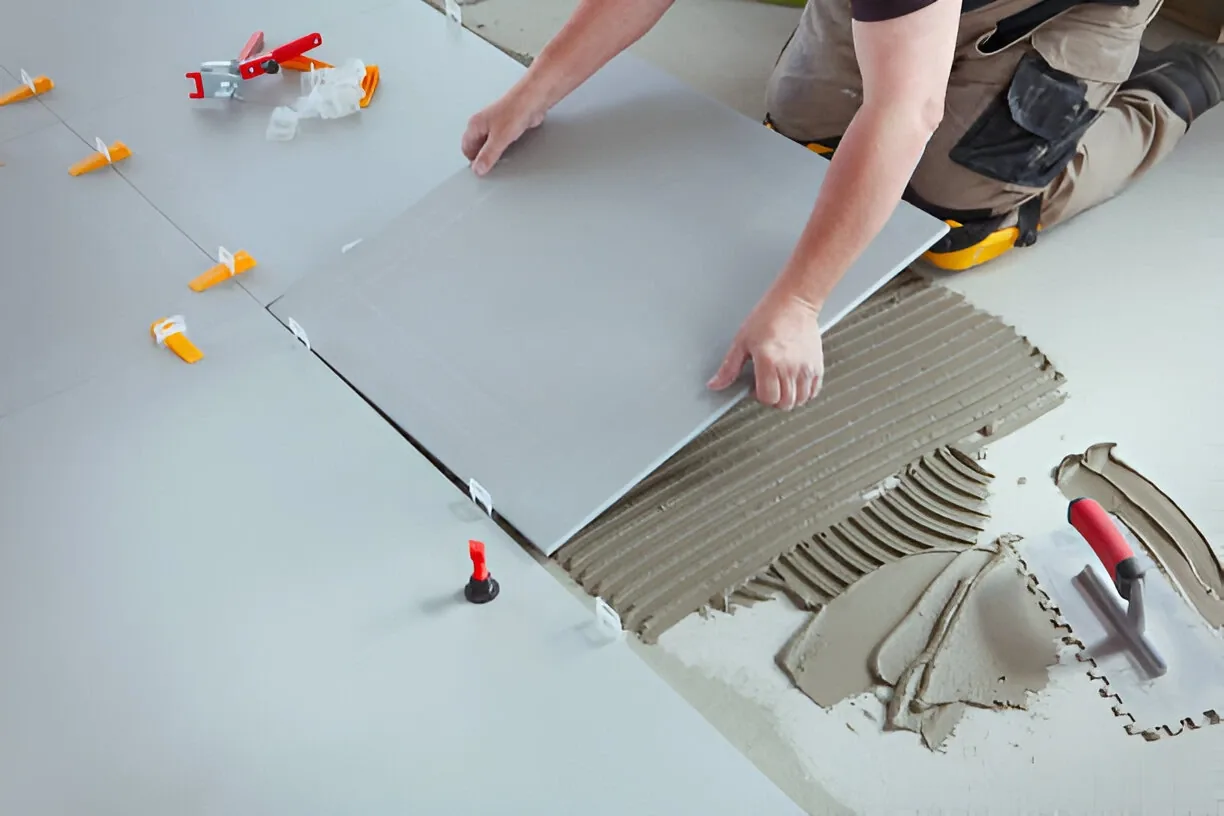
Using a grout float held at a 45-degree angle, press the grout into the joints. Work in small sections, about three square feet at a time. Make sure you force grout all the way into the joints, not just across the surface. You want full contact with the backing material for a strong bond.
After filling the joints, wait about 15 to 20 minutes for the grout to firm up slightly. Then use a damp sponge to wipe away excess from the tile faces. Rinse the sponge frequently and use light pressure. You are cleaning the tiles, not pulling grout out of the joints.
Repeat this wiping process two or three times over the next hour as a hazy film forms on the tiles. This is normal and comes off with continued gentle wiping. Let the grout cure for the full time specified on the package, usually 24 to 72 hours, before using the shower.
Step Four: Seal and Caulk for Longevity
Once grout is fully cured, apply a penetrating grout sealer. This step is especially important in Florida showers where humidity and frequent water exposure are constant. Sealer does not make grout waterproof, but it does slow down water absorption and makes cleaning easier.
Apply sealer with a small brush or applicator bottle, working it into the grout lines. Wipe any excess off the tile surfaces immediately. Most sealers need 24 hours to cure before the shower sees water.
Do not forget the corners and fixture edges. Grout should never be used in change-of-plane joints, like where two walls meet or where walls meet the shower floor. These areas move slightly with temperature changes and building settlement. Use 100 percent silicone caulk rated for bathrooms instead. It stays flexible and maintains a watertight seal.
Properly sealed and caulked grout in a North Fort Myers shower should last five to ten years with regular cleaning and maintenance. If you notice grout starting to soften or discolor again, address it early before water has a chance to penetrate deeper.
When to Call a Professional
DIY regrouting works well for surface-level maintenance. But some situations call for a licensed tile contractor with experience in shower systems. If you discover soft spots, hollow tiles, or evidence of water damage during grout removal, stop and get a professional assessment.
Waterproofing behind tile is not something to guess about. In Southwest Florida, where homes face high humidity and seasonal heavy rains, proper shower construction matters. A professional can evaluate whether your shower pan, waterproofing membrane, and drainage are functioning correctly.
We also get called in when homeowners start a regrout project and realize the scope is bigger than expected. There is no shame in that. Sometimes you only discover the full picture once old grout comes out. Having a qualified contractor ready to step in can save you from making a bad situation worse.
The Bottom Line
Regrouting a shower without removing tile is a practical maintenance task for Southwest Florida homeowners. It extends the life of your existing shower, improves appearance, and helps prevent water from penetrating behind tiles. The process requires patience and attention to detail, but the tools and materials are accessible.
Know your limits. If the underlying structure shows problems, or if you are uncomfortable working in a wet area, bring in a licensed tile contractor for an evaluation. We serve North Fort Myers and the broader Southwest Florida area, offering free estimates for shower repairs and full bathroom remodels alike.