What Your Tile Contractor Should Do Before Installing Bathroom Tile
Southwest Florida humidity does not forgive rushed tile work. When moisture gets trapped under tile in a Fort Myers bathroom, the results show up fast: loose tiles, cracked grout, and in the worst cases, rot spreading behind walls. We have seen it too many times during call-backs where another contractor skipped the prep steps.
Proper pre-installation work separates a tile job that lasts from one that fails within a few years. This guide walks through what a licensed tile contractor should complete before the first tile is set in your bathroom. If you are planning a bathroom remodel, use this checklist to know what to expect from your installer.
Moisture Testing Comes First
Concrete slabs in Southwest Florida hold moisture differently than in drier climates. Our high water table and frequent afternoon rains mean slabs here rarely dry out completely. A professional contractor tests for this before any tile adhesive goes down.
The standard method uses a calcium chloride test or relative humidity probe. The contractor places a sealed dish on the bare concrete for 24 to 72 hours, then measures how much moisture evaporated into the dish. Readings above the tile manufacturer's limit mean the slab needs more drying time or a moisture mitigation product.
We also check walls around showers and tubs. In older Fort Myers homes, we sometimes find water damage behind existing tile that homeowners did not know about. Catching this during demo saves costly repairs later. If you notice soft spots or a musty smell in your current bathroom, mention it during your estimate so we can plan for potential substrate replacement.
Substrate Evaluation and Leveling
Tile needs a flat, stable base. Large format tile, which has grown popular in Southwest Florida bathrooms for its clean look, shows every dip and hump in the substrate. The rule of thumb is no more than one-eighth inch variation over ten feet for tiles with edges longer than fifteen inches.
During substrate evaluation, we check for:
- Cracks in the concrete slab that could telegraph through new tile
- High spots that need grinding down
- Low spots that require self-leveling compound
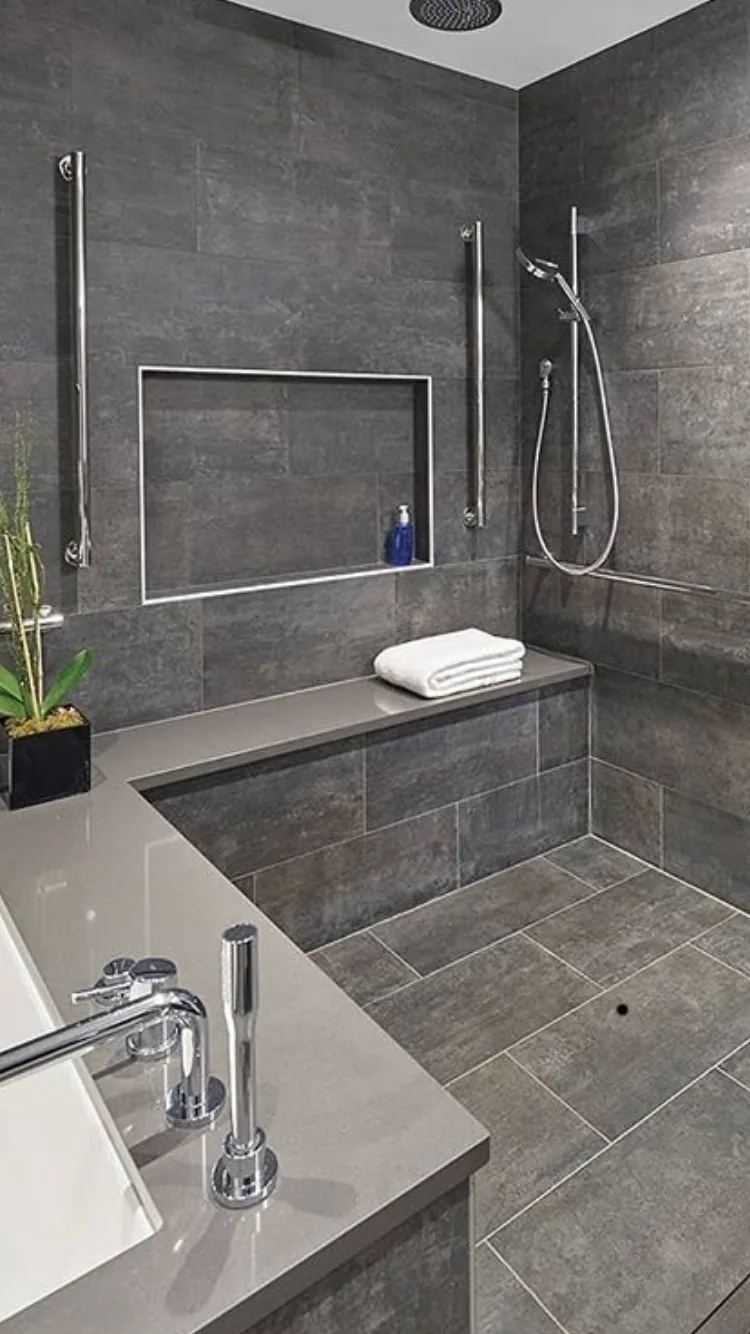
- Proper slope in shower floors toward the drain
- Stability of cement board or backer board in wet areas
Slab cracks are common in this region due to our sandy soil shifting during wet and dry seasons. A hairline crack might not need repair, but anything wider than one-eighth inch should be addressed. Some contractors install an uncoupling membrane over the entire floor to prevent cracks from moving through the tile. This adds cost but protects your investment.
Shower floors require special attention. The slope must be built into the substrate before tile goes on, not created with thicker adhesive under the tile. Proper slope ensures water flows to the drain and does not pool. We test this with a level before proceeding.
Layout Planning and Dry Fitting
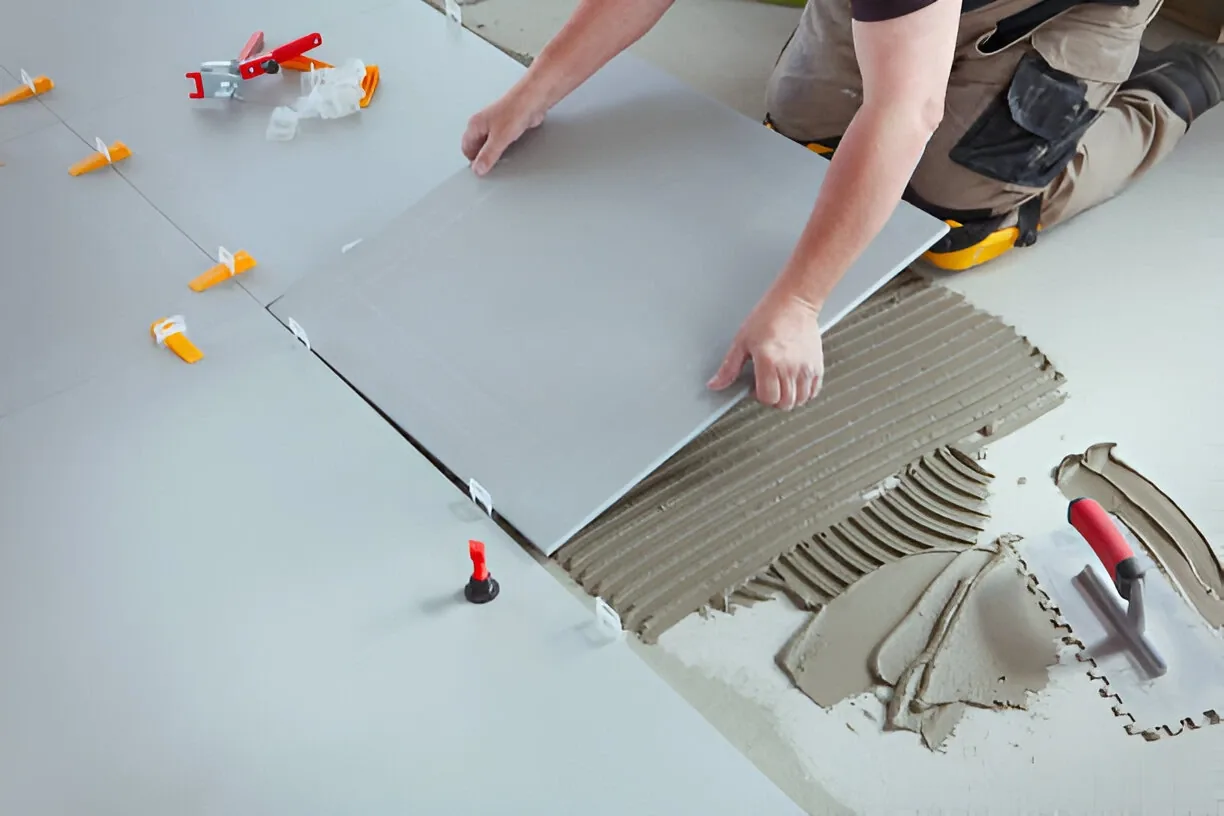
Before any adhesive is mixed, a careful contractor lays out the tile pattern on the floor without sticking anything down. This dry fit reveals problems that measurements alone cannot show.
During layout planning, we look for:
- Whether cuts at walls and fixtures will be symmetrical and visually balanced
- If the pattern lines up correctly at doorways and transitions
- Where full tiles will land in the most visible areas
- How to handle obstacles like toilet flanges and vanity legs
In smaller Fort Myers bathrooms, layout matters even more. A poorly planned pattern can leave sliver cuts along visible walls. We often shift the starting point a few inches to avoid this. Homeowners should approve the layout before installation begins.
For shower walls, we mark level lines around the entire space. This ensures tile rows stay straight even if the ceiling or floor is not perfectly level. We also plan niche and accent tile placement during this stage.
Waterproofing Verification for Wet Areas
Waterproofing is not optional in shower installations. Southwest Florida bathrooms see daily humidity and frequent water exposure. The waterproofing layer goes behind or under the tile, not on top of it.
There are several waterproofing methods:
- Liquid-applied membranes brushed or rolled onto cement board
- Sheet membranes like Kerdi or NobleSeal adhered to the substrate
- Foam board shower systems with built-in waterproofing
- Traditional PVC liners in shower pans
Each method has its place. Liquid membranes work well on complex shapes and corners. Sheet membranes provide consistent thickness. Foam systems are lightweight and easy to cut for custom niches. The best choice depends on your shower design and budget.
After waterproofing is installed but before tile goes on, we let it cure fully and inspect for pinholes or gaps. Corners and changes of plane need extra attention. Some waterproofing products require fabric reinforcement at inside corners. We also check that the waterproofing extends to the proper height on shower walls, typically six feet or to the ceiling.
If you are considering a tile installation in your shower, ask your contractor which waterproofing system they use and why. A reputable installer can explain their choice clearly.
Material Acclimation and Adhesive Selection
Tile and adhesive need time to adjust to your bathroom's temperature and humidity before installation. We bring materials to the job site at least 24 hours before starting work. This prevents expansion or contraction after the tile is set.
Adhesive selection matters for longevity. In wet areas like showers, we use modified thinset rated for submerged applications. For large format tile on floors, a medium-bed mortar helps maintain proper coverage without sagging. The tile manufacturer's specifications guide our choice.
Grout selection happens during this phase too. Epoxy grout resists stains and mildew better than cement grout, making it a good choice for Southwest Florida humidity. However, it costs more and requires skilled installation. We discuss options with homeowners based on their priorities for maintenance and budget.
Final Pre-Installation Walkthrough
Before mixing the first batch of adhesive, we do a final walkthrough with the homeowner. This is the last chance to confirm layout, address questions, and set expectations for the installation process.
We review:
- Tile pattern and starting point
- Grout color and joint width
- Timeline for completion and cure time before use
- Protection for existing fixtures and finishes
- Cleanup and debris removal
This conversation prevents misunderstandings later. If you have specific concerns about your Fort Myers home, such as protecting a historic fixture or working around a tight schedule, now is the time to mention it.
The Bottom Line
Quality tile work starts long before the first tile is set. Moisture testing, substrate evaluation, layout planning, waterproofing, and material preparation all protect your bathroom from the humidity and water exposure common in Southwest Florida. Skipping these steps saves time upfront but costs far more in repairs later.
When interviewing contractors for your bathroom project, ask about their pre-installation process. A licensed tile contractor should have clear answers about how they handle moisture testing, leveling, and waterproofing. If a contractor cannot explain their prep work or rushes through these steps, consider it a warning sign.
For homeowners in Fort Myers and surrounding areas, we provide free, no-obligation estimates that include a full assessment of your bathroom's pre-installation needs. Call (239) 265-2814 or visit our contact page to schedule a consultation. We have served Southwest Florida since 2016 and understand what local conditions demand from bathroom tile installations.