Bathroom Remodel Timeline: What Each Phase Really Involves

One of the most common frustrations homeowners share with us is not the remodel itself, but the uncertainty around it. They want to know: what happens first, what comes after, and why does it feel like nothing is moving on certain days? Having done bathroom remodeling in Fort Myers since 2016, we have walked through this process more times than we can count. This breakdown covers each phase honestly, without padding the timeline or glossing over the parts that require patience.
Keep in mind that every bathroom is different. A simple floor swap moves faster than a full gut-and-rebuild with a new shower footprint. What follows is a typical full-scope remodel, the kind where you are starting from a dated builder bathroom and turning it into something you will actually enjoy using.
Phase 1: Planning and Tile Selection
Before anyone picks up a tool, decisions need to be locked in. This phase often takes longer than homeowners expect, and rushing it creates problems downstream. You need to choose your tile, grout color, layout direction, niche placement, fixture locations, and any accent details before demolition begins. Changing your mind after demo costs time and money.
In Southwest Florida, we see a lot of homeowners drawn to large-format porcelain, wood-look plank tile, and light marble-look materials. All of these are fine choices, but they each have different installation requirements. Large-format tile needs a very flat substrate. Wood-look plank in a wet area requires specific grout joint sizing. Your tile selection directly affects how the substrate prep phase is handled, which is why locking in materials early matters.
If you are working with a licensed tile contractor, use this phase to ask every question you have. A good contractor will flag potential complications before the job starts.
Phase 2: Demolition
Demo day is satisfying to watch, but it is also when surprises show up. Old tile comes off the walls and floor, the tub or shower enclosure gets removed, and the space gets stripped down to studs and slab. In Fort Myers homes, especially anything built in the 1980s and 1990s, this is often where we find moisture damage behind the original tile, failed waterproofing membranes, or mud-bed shower pans that have been holding water for years.
We always advise homeowners to be prepared for demo to reveal something unexpected. It does not happen every time, but it happens often enough that a contingency in the project scope is smart planning. When issues are found behind the walls, the right move is to address them properly rather than tile over them. Covering up moisture damage or a compromised substrate shortens the life of everything installed on top of it.
Demolition also generates a significant amount of debris. If you are living in the home during the remodel, make sure you have discussed how the contractor will manage dust and disposal before work begins.
Phase 3: Substrate Preparation and Waterproofing
This is the phase that does not photograph well but matters most. Before any tile goes up, the surfaces receiving it need to be flat, solid, and where moisture is present, fully waterproofed.
In a Fort Myers bathroom, humidity is not a seasonal issue. It is year-round. Salt air from the Gulf, Florida's wet season, and the routine steam from daily showers all push moisture into surfaces over time. A properly installed waterproofing membrane in the shower area is not optional. It is what separates a tile job that holds up long-term from one that starts failing at the grout joints within a few seasons.
Substrate prep also includes correcting any floor flatness issues. Tile needs a flat plane to bond to. If the slab has low spots or the cement board has gaps, those get addressed here. This phase is where the skilled labor is concentrated, and it is worth letting it be done right rather than rushed.
We strongly recommend homeowners consult a licensed professional before attempting any waterproofing or wet-area prep on their own. Done incorrectly, it is one of the most expensive mistakes to fix after the fact.
Phase 4: Tile Installation
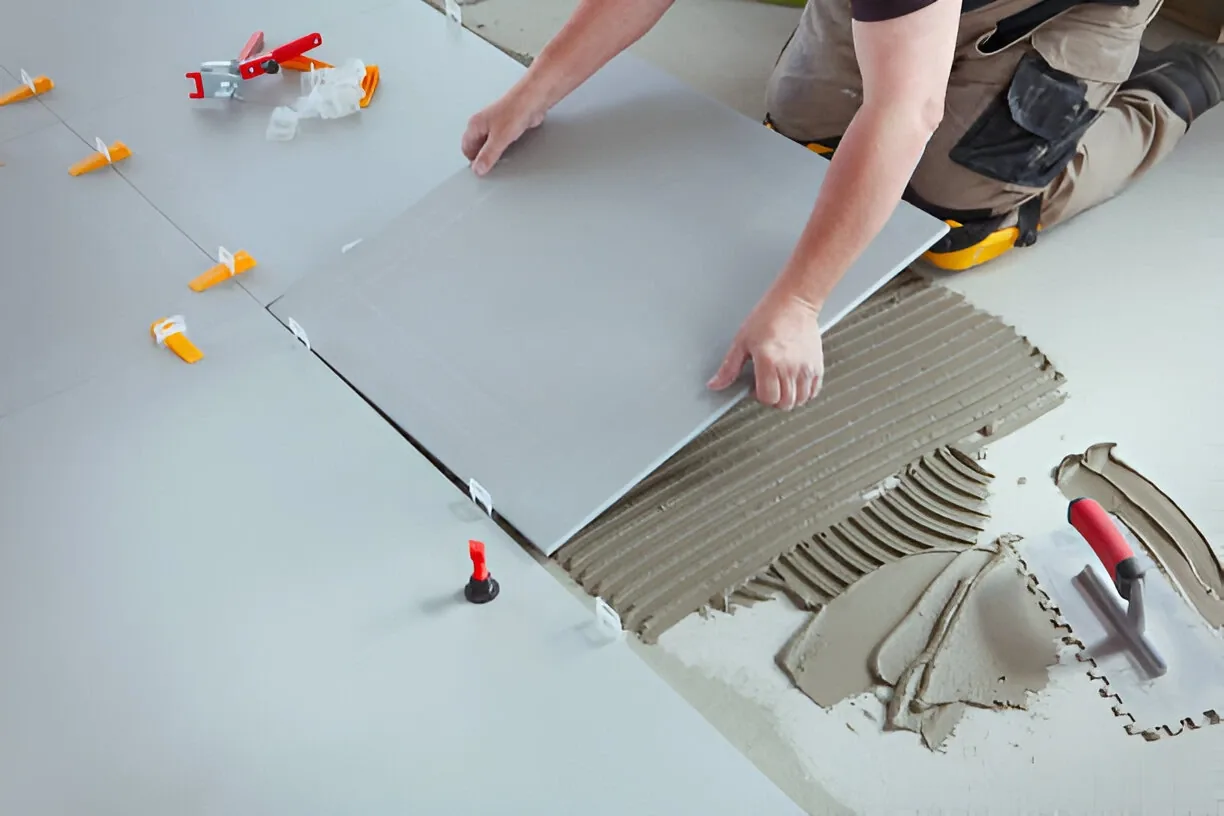
Once the substrate is solid and the waterproofing is cured, tile installation begins. For a typical full bathroom remodel, this phase covers the shower walls, shower floor, and main bathroom floor. If you have a niche, bench, or accent stripe, those get worked in as the field tile is set.
Layout planning happens at the start of this phase. The installer marks out reference lines so cuts at walls and transitions are balanced and intentional. A floor that ends with a sliver of tile at the door or a shower that has a tiny cut in the most visible corner is a sign that the layout was not thought through before tile was set. That kind of detail is one of the things that separates experienced tile installation work in Fort Myers from a rushed job.
Large-format tile and pattern layouts like herringbone or offset stack take more time to set correctly. If your tile selection falls into those categories, factor that into your expectations for this phase.
Phase 5: Grouting and Curing
After tile is set, it needs time to cure before grouting begins. Grouting too soon can shift tiles that have not fully bonded. Once the tile is ready, grout gets worked into the joints, cleaned off the surface, and left to cure again before any moisture exposure.
Grout color has a bigger visual impact than most people anticipate during selection. A contrasting grout on a large-format tile will highlight every joint. A tight match will let the tile read as a continuous surface. Neither choice is wrong, but it is worth thinking through before the job starts rather than second-guessing it at this stage.
After grouting is complete, sealers are applied to grout and any natural stone surfaces. In Southwest Florida's climate, sealing is not something to skip. The combination of humidity, heat, and heavy shower use accelerates staining and moisture penetration in unsealed grout.
Phase 6: Finishing and Final Walkthrough
The last phase covers everything that closes out the project: fixtures are reinstalled or newly set, transitions and trim pieces go in, caulk is applied at all the right joints (corners, changes in plane, and where tile meets fixtures), and the space gets a final cleaning. If there are any touch-ups needed, this is when they get handled.
A proper walkthrough with your contractor before they leave the job is worth your time. Walk the entire space, check the grout lines, look at the cuts around the fixtures, and test everything that turns on or drains. Most contractors, including our team at Dynasty Tile, want to know about any issues before they leave rather than getting a call two weeks later.
You can reach us at (239) 265-2814 to ask about a free, no-obligation estimate for your project.
The Bottom Line
A bathroom remodel done right is a sequence of careful phases, not a single continuous push. Demo reveals what is really behind the walls. Substrate prep and waterproofing determine how long everything holds up in Fort Myers humidity. Tile installation and grouting are where the craftsmanship shows. Rushing any of these steps creates problems that show up later, usually after the rest of the house has moved on.
If you are planning a remodel and want to understand what a realistic scope looks like for your specific bathroom, take a look at our project reviews and then reach out to schedule a walkthrough. We are happy to walk through the phases with you before any work begins.