Tile Flooring for a Pine Island Fishing Cabin: Tough and Low-Maintenance
There is a specific kind of wear that happens in a Pine Island fishing cabin. You roll up Friday evening after a long work week, boots still damp from the drive over. The tackle box leaves salt crystals on the floor. Sand shakes out from waders. By Sunday night you are locking up and heading back to the mainland, and whatever tracked through that door needs to wait until your next visit.
We have seen what works in these situations and what does not. As a licensed tile contractor serving Southwest Florida since 2016, we have installed flooring in everything from high-traffic vacation rentals to quiet weekend retreats around Pine Island. The cabin floors that hold up share a few things in common: they do not absorb water, they do not show salt residue, and they clean up with a hose or quick mop before you leave.
Why Fishing Cabin Floors Need Different Tile
Standard residential flooring assumes regular foot traffic and occasional spills. A fishing cabin assumes wet boots, damp gear, and saltwater exposure as the baseline. The humidity here does not help either. Southwest Florida air carries moisture year-round, and salt air accelerates wear on materials that are not designed for it.
The entryway takes the hardest hit. This is where wet waders drip, where sandy shoes leave deposits, and where saltwater from the boat can track through. If your cabin has a lanai or covered porch that functions as a gear staging area, that floor sees similar abuse. Many Pine Island property owners treat these spaces as transitional zones where outdoor mess stops before it reaches the interior.
Key demands for cabin flooring:
- Water resistance that handles standing moisture without absorbing
- Surface texture that provides grip when wet but does not trap sand
- Material that does not show salt residue or require special cleaners
- Installation method that prevents water from getting underneath
Porcelain Tile: The Workhorse Choice
Porcelain tile is our most common recommendation for fishing cabin floors. It is denser than ceramic, fired at higher temperatures, and absorbs less than half a percent of water by weight. That matters when wet boots are a daily reality. Water sits on the surface instead of soaking in, which means no swelling, no warping, and no mold growth under the tile.
For cabin applications, we typically suggest porcelain through-body tile or unglazed porcelain with a textured finish. Through-body means the color and pattern run the full thickness of the tile. If you chip it or scratch it from dragging a cooler, the damage is far less noticeable than on a glazed surface where a different color shows through.
Size matters here. Larger format tiles mean fewer grout lines. Fewer grout lines mean less surface area for salt and sand to settle into. We often install 24x24 inch or larger porcelain in cabin entryways and lanais for this reason. The grout that does exist should be epoxy or a high-performance urethane blend. Standard cement grout will stain from salt and organic matter over time. Epoxy grout does not absorb anything and wipes clean with fresh water.
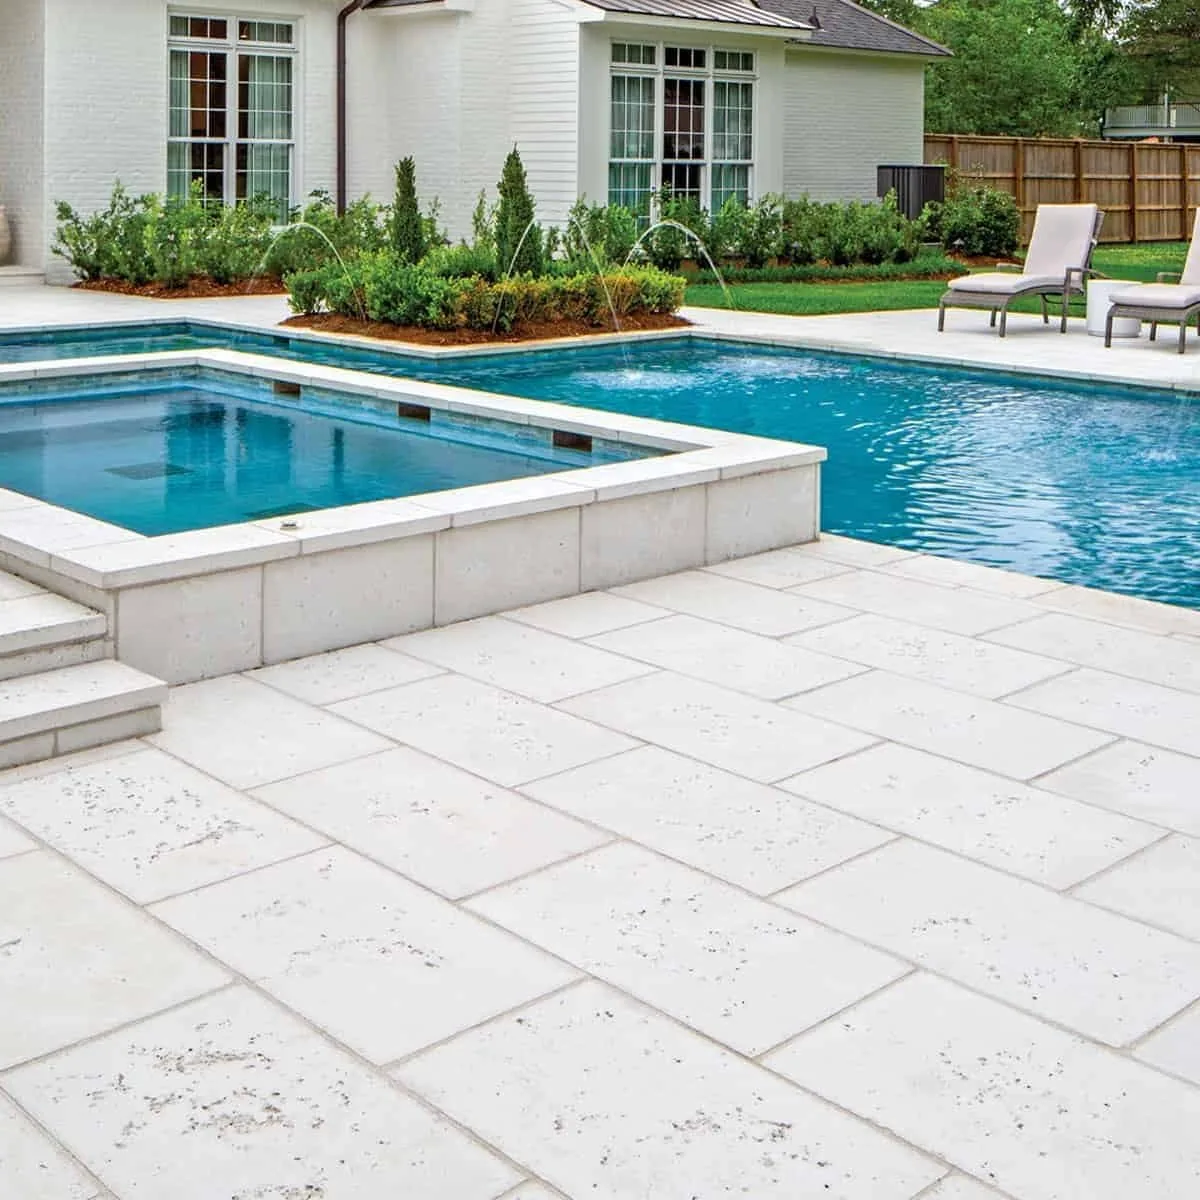
If you are planning a outdoor tile installation for a covered lanai or gear room, porcelain pavers rated for exterior use are the way to go. They handle UV exposure without fading and can take the temperature swings we see between summer and winter here.
Concrete-Look and Stone-Look Porcelain
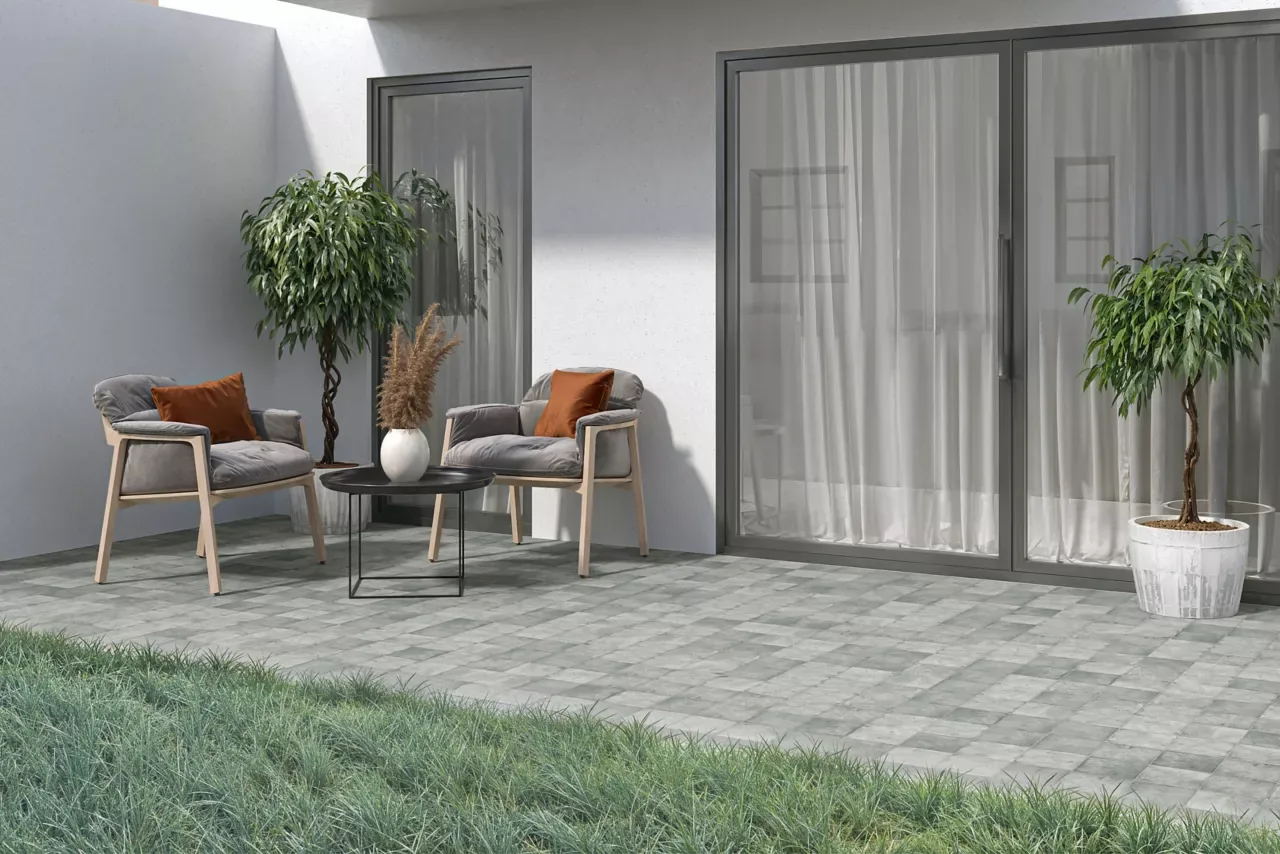
Aesthetic preferences vary, but we have noticed cabin owners tend to drift toward finishes that do not look worse with age. Concrete-look porcelain in gray tones hides salt residue better than dark floors. The matte finish does not show water spots. Stone-look porcelain with natural texture provides slip resistance without feeling rough on bare feet.
One advantage of modern porcelain is the range of appearances available. You can get the look of weathered concrete, natural stone, or even wood grain without the maintenance those materials require. Real wood warps in humid coastal environments. Wood-look porcelain gives you the visual warmth without the vulnerability.
What About the Entryway Specifically
The entryway or mudroom deserves special attention. This is your first line of defense. Some cabin owners we have worked with create a dedicated drop zone with a slightly recessed tile area or a drain-adjacent floor that can be hosed down directly. This works best when planned during initial construction or a full tile installation project where slope and drainage can be built in.
If you are retrofitting an existing cabin, a durable porcelain entry with a boot scraper mat outside the door achieves similar results. The key is making cleanup effortless. If rinsing the floor requires buckets and mops, it will not happen consistently. If you can spray it down with a hose in two minutes, it actually gets done.
Installation Considerations for Cabin Floors
How the tile gets installed matters as much as what tile you choose. Pine Island properties often sit on concrete slabs, which is ideal for tile. The slab must be level and dry before installation begins. In older cabins, we sometimes find slabs that have settled or developed cracks. These need attention before tile goes down, or the tile will crack along the same lines.
For lanais and covered outdoor areas, proper slope away from the structure is critical. Water should drain outward, not pool against the house. We check this during every pool deck or outdoor flooring assessment. If your cabin has a wood subfloor instead of concrete, that adds complexity. Cement backer board and waterproofing membranes become necessary, and the installation cost increases accordingly.
One thing we see occasionally: cabin owners who want to tile over existing vinyl or laminate to save on demo costs. This rarely works out well in wet environments. The old flooring can trap moisture underneath the new tile, leading to mold and adhesion failure. Removing the old material and starting with a clean substrate is worth the extra labor.
Maintenance Between Visits
The beauty of porcelain tile in a fishing cabin is the minimal upkeep required. Before you lock up on Sunday, a quick rinse with fresh water removes salt and sand. A squeegee or push brook clears standing water. That is it. No sealing required. No special cleaners. Salt does not etch porcelain the way it can damage natural stone or certain metals.
Grout lines should be inspected once or twice a year. Epoxy grout rarely needs attention, but if you have cement grout in an older installation, resealing it annually extends its life. Discoloration in grout is usually the first sign that water is getting where it should not.
For deeper cleaning after an extended period, a neutral pH tile cleaner and a stiff brush handle most buildup. Avoid acidic cleaners on any natural stone-look surfaces, even if they are porcelain. The acids can dull the finish over time.
When to Call a Professional
Tile installation in wet areas requires knowledge of waterproofing, substrate preparation, and proper mortar selection. If your cabin flooring project involves an entryway that connects to the interior living space, getting the transition and moisture barrier right prevents problems down the line. We offer free, no-obligation estimates for cabin and vacation property projects around Pine Island and the broader Southwest Florida area.
For larger projects like full cabin renovations or outdoor lanai conversions, working with a licensed tile contractor who understands coastal Florida conditions ensures the installation holds up to the environment. We have seen too many DIY installations fail because the substrate was not properly prepared or the wrong mortar was used in a high-moisture area.
The Bottom Line
A Pine Island fishing cabin needs flooring that matches how the space actually gets used. Porcelain tile checks the boxes: waterproof, salt-resistant, low maintenance, and durable enough to handle wet gear and sandy boots week after week. Choose larger formats to minimize grout, pick a finish that hides salt residue, and make sure the installation accounts for drainage and substrate conditions. The result is a floor that you can hose down in minutes and leave locked up until your next visit without worrying about what is happening underneath.